
Crafting My Newest Mahjong Tile Set: Sun Over Farmland
There’s something magical about sitting down at a mahjong table, the tiles clicking in your hands, each one a tiny work of art. For my newest handmade mahjong tile set, I decided to lean into a fresh and peaceful design: a sun rising over patches of farmland. Here's a behind-the-scenes look at how these tiles came to life!
Designing the Dream
It all started with inspiration—and a little help from Adobe Stock. I found the perfect design: a simple yet striking image of a sun stretching over rolling fields. Using that as my base, I prepared the files needed to engrave and cut each piece.
Each full set of tiles requires a lot of material and precision. To create one full set, my trusty xTool S1 processes 10 panels of 12" x 12" basswood — that's two panels for each tile layer. A single mahjong tile is made up of five separate layers:
A top decorative piece
Three middle planks for height
A bottom face with the engraved mahjong suit.
Cutting and Shaping
The cutting process is a labor of love (and patience!). The top and bottom panels, with all their detailed engraving work, each take over an hour to cut and engrave. The six middle panels are quicker—about 15 minutes each—but it all adds up to a serious time investment before I even start assembling.
Once everything is cut, it’s time to bring some warmth and character to the wood. I stain the tops and bottoms with Golden Pecan, a color I absolutely adore right now. It gives the tiles a rich, golden glow that contrasts beautifully with the engraved design, making each sun and patch of farmland pop.
Building Each Tile by Hand
Then the real assembly begins! Every tile is carefully layered and glued together:
3mm thick decorative top
2mm middle plank
3mm blank plank
2mm blank plank
3mm engraved mahjong tile face
Once the glue has fully dried, I use a Dremel-like tool to sand and soften the edges for a more polished and tactile feel. Each tile face also gets a careful sanding to remove any flash burning from the laser engraving, ensuring the final look is clean and smooth.
Painting, Sealing, and Finishing Touches
After sanding, it’s time to hand-paint each tile. This is one of my favorite parts: bringing the artwork to life with color and care. Once the paint is dry, each tile is sealed with several coats of either gloss or satin urethane, depending on the desired final finish. This not only protects the tiles but also enhances the depth of the colors and wood grain.
Ready for Play
After all that work—designing, cutting, staining, gluing, sanding, painting, and sealing—the tiles are finally ready for the table. There’s nothing quite like seeing a full set come together, knowing that each tile carries hours of craftsmanship and creativity.
And with that—happy gaming! May your matches be merry, and may the sun always shine on your farmland!
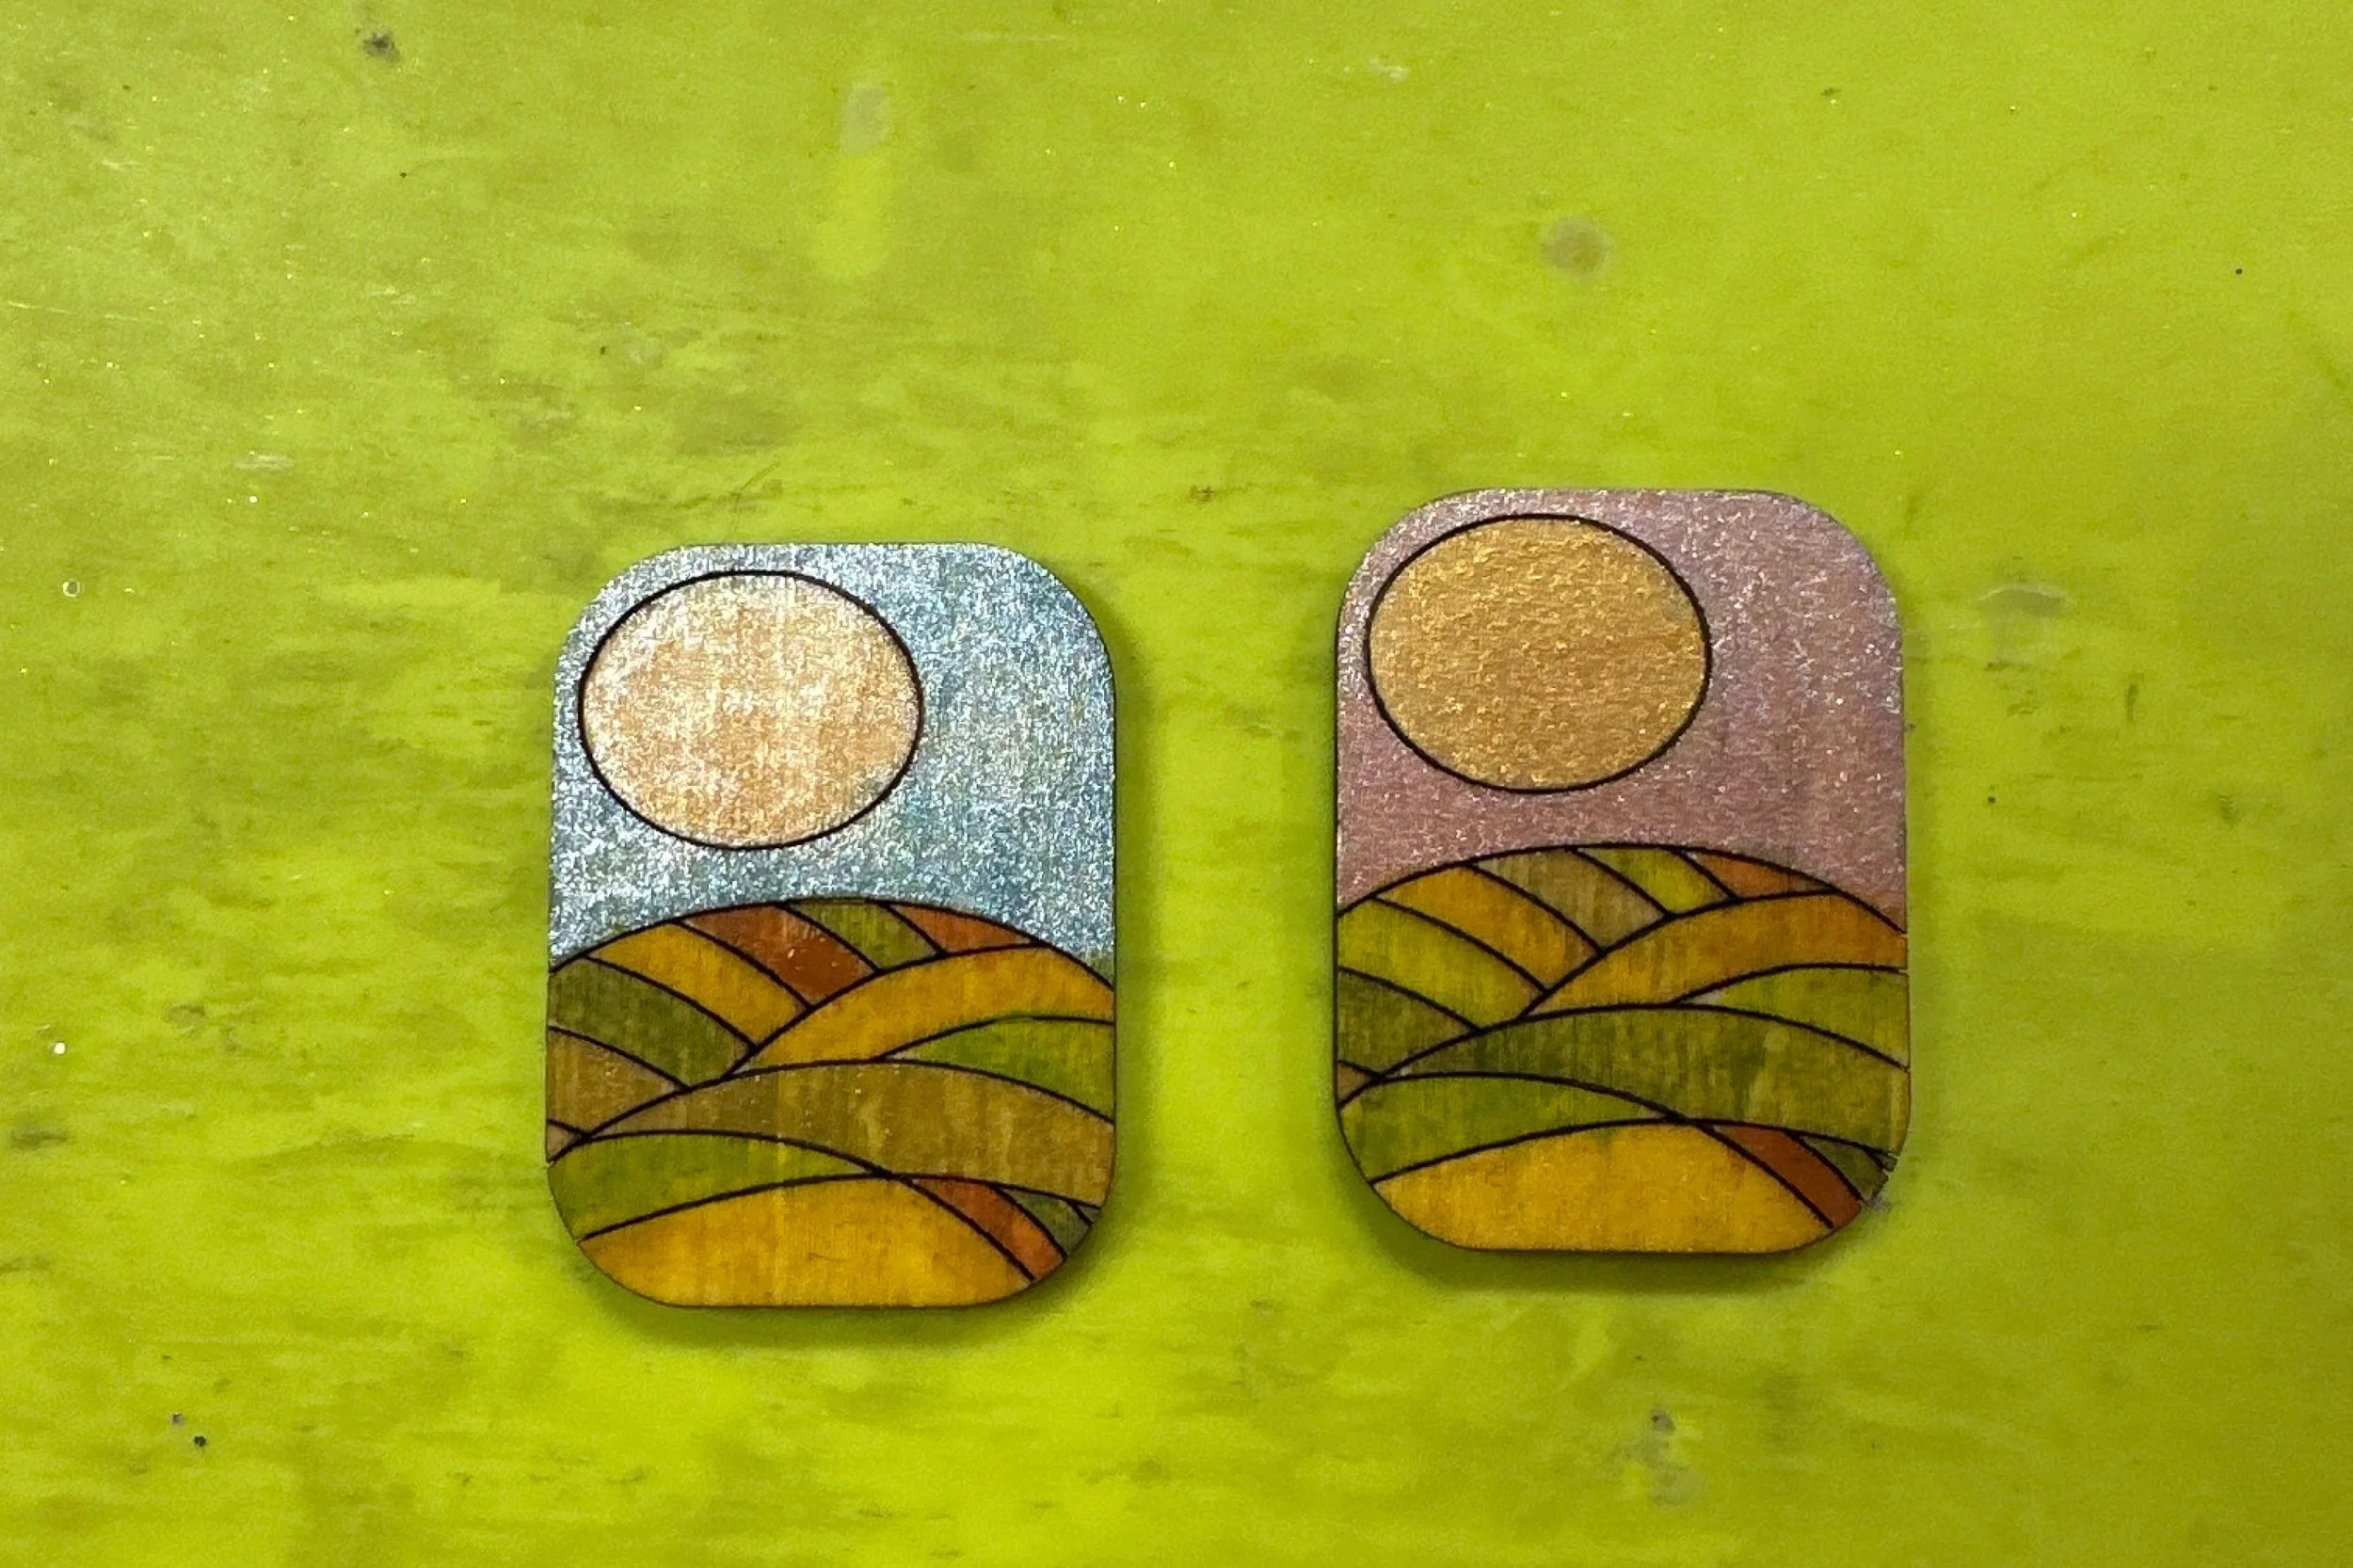
Should I paint them Sunrise or Sunset?